 App Developer

You built something in Base44, it works, and now you want it on a phone with a real icon on the home screen. Good news: since early 2026, you can publish a Base44 app to the App Store and Google Play without opening Xcode, hiring a developer, or rewriting a single line in Swift.
The bad news nobody tells you upfront? Base44 gets your app ready and hands you the files. It does not press the final button for you. The submission itself still happens inside your own Apple and Google accounts, and that's where most first-timers get stuck.
This guide walks through the whole thing, start to finish: what you need, the exact clicks inside Base44, what it costs, and the rejection traps that quietly kill first submissions. If you follow it in order, you'll publish your Base44 app to the app store the right way the first time.
Can Base44 actually put your app in the App Store?
Yes. You can publish a Base44 app to the App Store directly from the editor. Base44 scans your published app against Apple and Google's guidelines, uses its AI chat to help you fix problem areas, then generates the store-ready files you upload to each store yourself.
One thing to understand before you start, because it changes your expectations: your mobile app is a secure web view wrapping your live Base44 app. It's a lightweight native shell that opens your app's URL. The upside is huge — most content and design changes you publish in Base44 show up in the installed app automatically, with no new store release. The trade-off is that native-only features like push notifications, full offline mode, and HealthKit aren't supported yet.
For a lot of apps — internal tools, booking systems, dashboards, marketplaces, simple SaaS products — that wrapper is completely fine. If push notifications are core to your product, read the limitations section near the end before you create any store records.
What you need before you publish a Base44 app
Set aside an afternoon. The build-your-app part is done; this is paperwork and clicking. To publish a Base44 app to the App Store without stalling, gather these first:
- A published Base44 app with a stable URL (the live production URL, not an editor preview)
- An Apple Developer Program account — $99/year, with access to App Store Connect
- A Google Play Console account — $25, paid once, for life
- A Base44 Builder plan or higher. You can run the readiness scan on the Free plan, but downloading the actual submission files requires Builder or above. This catches people by surprise, so plan for it.
- An app icon that meets Apple and Google size rules (or a clear prompt to generate one with AI)
- A privacy policy and terms of use page that are live on your app and reachable before someone signs up
That last one isn't optional. Both stores reject apps that hide their privacy policy behind a login wall, and it's one of the most common reasons a Base44 app gets bounced on first review.
Step 1: Set up your Apple and Google developer accounts
You own the listings, so you own the accounts. Base44 prepares the app; it never creates or manages these for you.
Apple Developer account
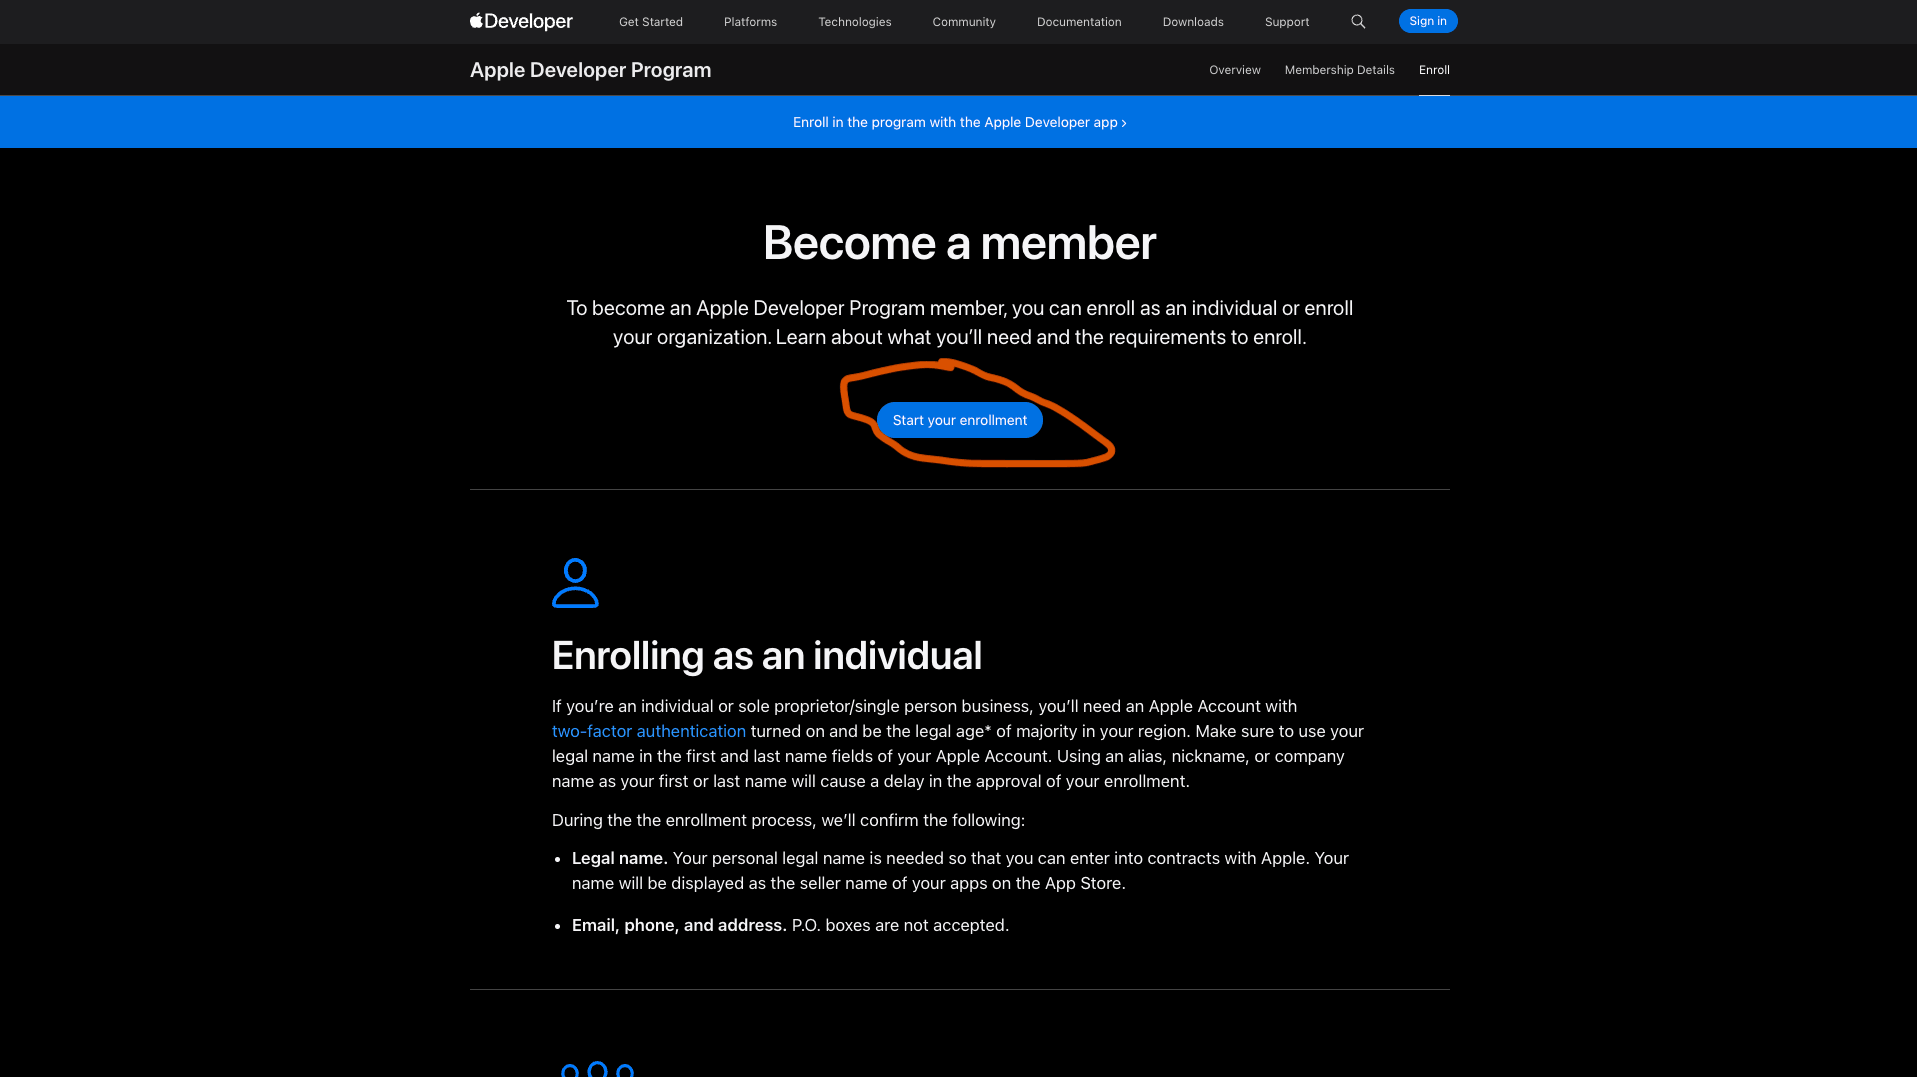
Go to Apple's developer enrollment page, sign in with an Apple ID you'll use for business, and choose Individual (publishing as yourself) or Organization (publishing as a company — Apple may ask for a legal business name and D-U-N-S number). Pay the $99, and wait. Apple sends an activation email once payment clears, and this can take up to two business days. You literally cannot generate iOS files until this finishes, so start it first.
Google Play account
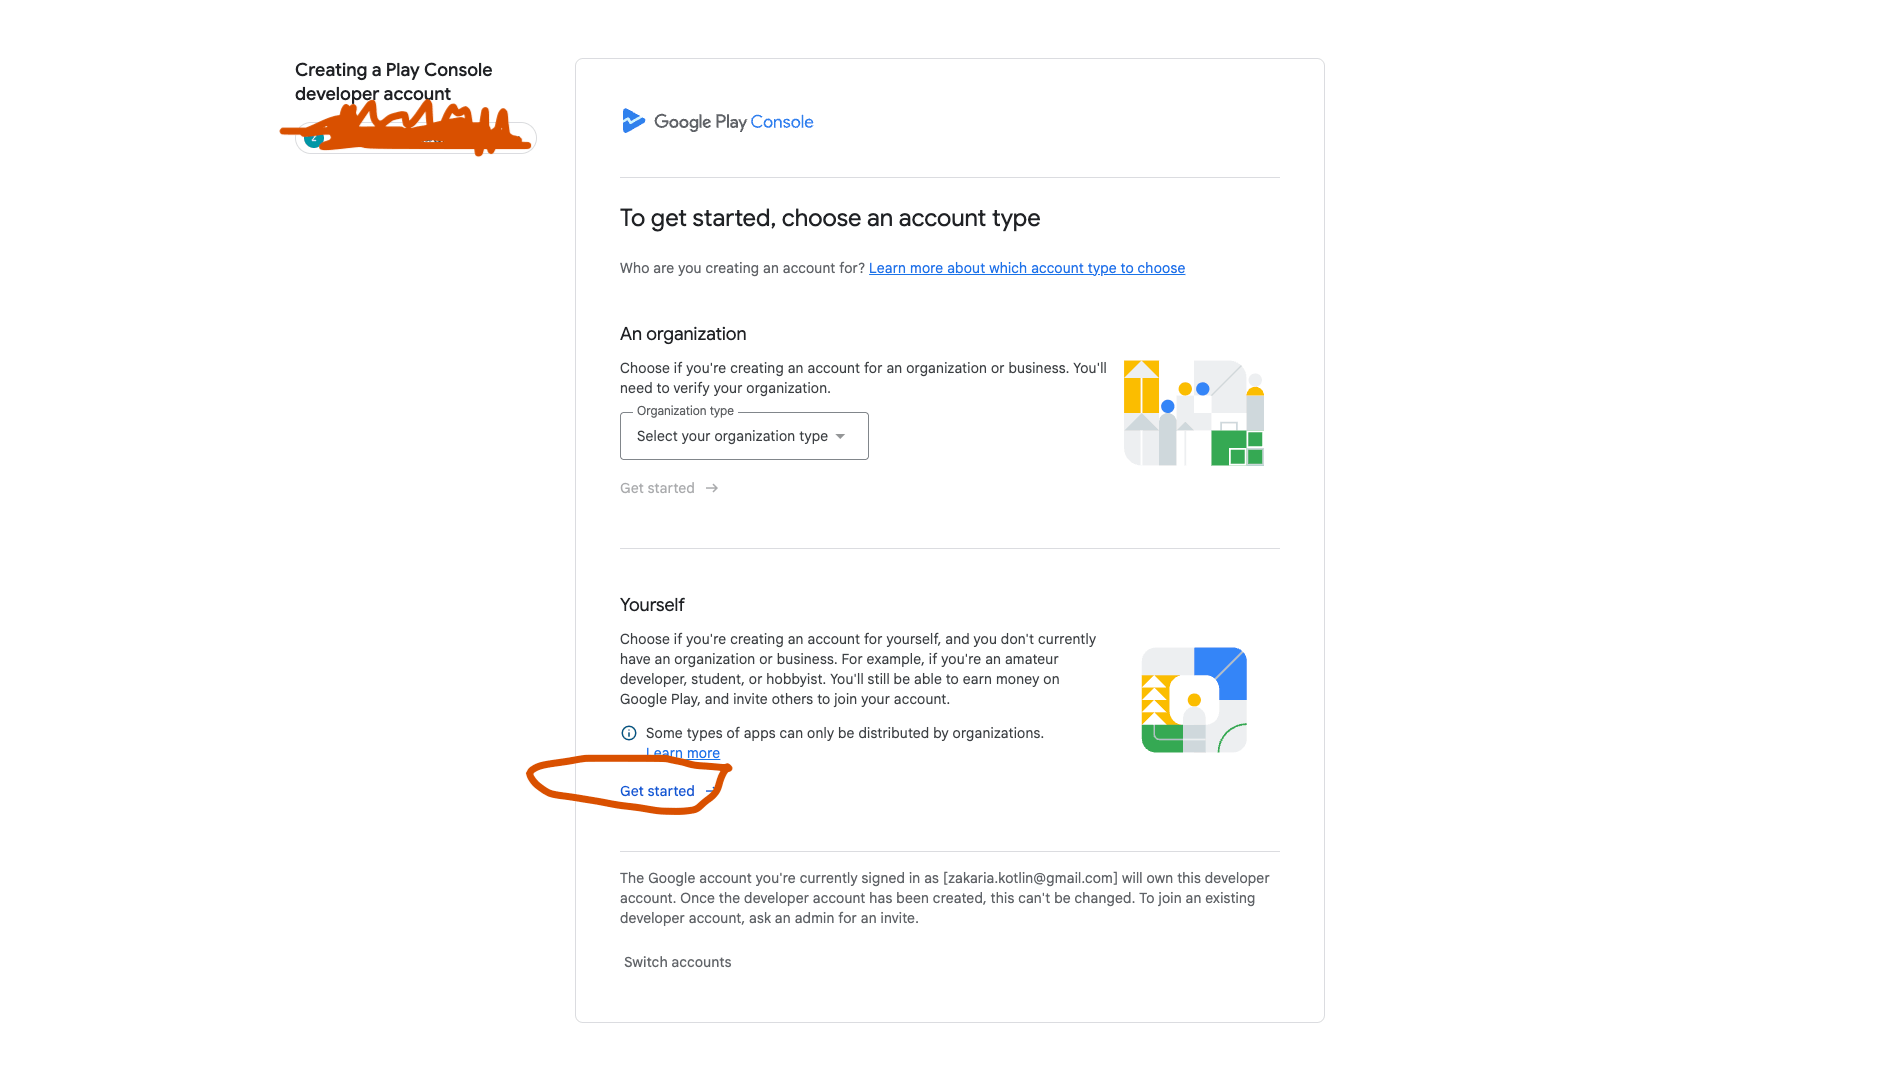
Head to the Google Play Console signup, sign in with your Google account, fill in your developer profile, accept the policies, and pay the one-time $25. Google's approval is usually faster than Apple's.
Kick both off before you touch anything else in Base44. The waiting happens in the background while you prep the app.
Step 2: Scan your Base44 app for store issues
Now the Base44 part. Open your app editor and click Publish at the top-right, then open the Mobile app tab. Click Check Your App, then Run App Scan, and pick what you're scanning against — App Store guidelines, Google Play guidelines, or both.
The scan checks your app the way Apple and Google reviewers will: navigation, login flows, permissions, privacy links, and whether your app offers real value beyond a thin copy of a website. It hands you a Readiness Score and a list of passed, partial, and failed checks.
Don't panic at a low first score. Almost nobody scores 100 on the first pass, and you don't need 100 to submit.
Step 3: Fix the issues with AI and raise your score
This is where Base44's approach genuinely saves time. In the scan results, each issue comes with two options:
- Apply with AI — opens the AI chat with a tailored fix prompt already loaded
- Copy Fix Prompt — copies the prompt so you can edit it before pasting it in yourself
Let the AI apply the changes, then go back to Preview and actually test your key flows by hand: browse, sign up, log in, check out. Publish the changes, then run the scan again to see your updated score.
Aim for as high a score as you can with zero unresolved critical issues. Partial issues are a judgment call — the more you clear, the smoother review goes, but a couple of low-risk partials won't necessarily sink you. Critical failures will.
Step 4: Generate your App Store and Google Play files
Once your app is scan-ready, generate the files from that same Mobile app tab. This is the step that needs the Builder plan.
Click Build Stores Files, then choose Create App Store files or Create Google Play files.
Creating your App Store (iOS) files
This is the fiddliest part of the whole process, so go slow. Base44 needs four things from App Store Connect to build your signed iOS bundle: your Issuer ID, Key ID, Team ID, and a .p8 API key file.
Here's where to find each one:
- In App Store Connect, go to Users and Access → Integrations
- Click + to create a new API key. Give it a name and — this matters — assign it the Admin role. A weaker role triggers a permission error later.
- Click Generate, then Download the .p8 file. Apple lets you download this file exactly once. Lose it and you have to revoke the key and start over. Save it somewhere safe.
- Your Issuer ID and Key ID are on that same Integrations page.
- Your Team ID lives under Membership details in your main Apple Developer account.
Paste those into Base44, upload the .p8, review your logo (uploading a new one here also changes your app's logo, so be sure), and click Generate files. When it finishes, download your IPA.
One gotcha: if you don't see the Keys or Integrations tab in App Store Connect yet, your Apple account is still activating. That can take up to 48 hours after payment. Wait for the activation email — there's no way around it.
Creating your Google Play (Android) files
Simpler. Click Create Google Play files, review or swap your logo, and click Generate files to build your AAB (Android App Bundle). Download it when it's ready.
Two extra Android steps to know about:
- Google login? You'll need to add your Google Play App Signing SHA-256 fingerprint back into Base44, or Google sign-in breaks in the installed version. Find it in Play Console under Setup → App integrity, then add it in Base44 under Build Stores Files → More Actions → Add Google Play SHA
- Package name. When Play Console asks for it, your Base44 package name follows the format com.base[app-id].app, where [app-id] is the ID in your editor URL. If Google prompts you to register the package name, Base44 has an Add Google Snippet option to handle it.
Step 5: Submit your app in App Store Connect and Google Play Console
You've got your IPA and AAB. This is the step that actually lets you publish a Base44 app to the App Store and Google Play, and it happens entirely in Apple and Google's dashboards — the one line Base44 doesn't cross for you.
Before you fill out the store forms, have your listing assets ready:
- A short and long app description
- Screenshots on common phone sizes (and tablet sizes if you support them) — just open your published app on a device or simulator, walk through your main flows, and take native screenshots
- Your app icon and any required feature graphics
- A support URL and your privacy policy URL
Upload your build, complete the listing, fill in the privacy and data-safety declarations honestly, and submit. Apple's review typically runs about 3–5 business days; Google is often quicker. Base44 also links to a step-by-step visual submission guide from its docs if you want screenshots for the Apple and Google dashboards themselves.
Be clear-eyed about one thing: Base44 support won't track your submission, email Apple or Google on your behalf, or handle review feedback. Once you hit submit, the conversation is between you and the store. Read their emails carefully and make fixes yourself.